18 April 2025
Ever wondered what it would be like to build your own drone? Imagine flying a machine that you personally assembled, tweaking its parts, and watching it take off for the first time. Sounds exciting, right? Well, with the right guidance, you can make that dream a reality. Building a drone can be a fun and rewarding project. Whether you're a tech enthusiast or just curious about drones, this step-by-step guide will walk you through the entire process.
Let’s dive in!
Why Build Your Own Drone?
You might be asking yourself, "Why would I build a drone when I can just buy one?" Great question! While buying a pre-made drone can be convenient, building your own gives you a deeper understanding of how drones work. Plus, you can customize it to meet your specific needs. Want a drone for aerial photography? Or maybe one that’s super fast for racing? When you build your own, the possibilities are endless. Not to mention, it’s incredibly satisfying to see something you've built soaring through the sky.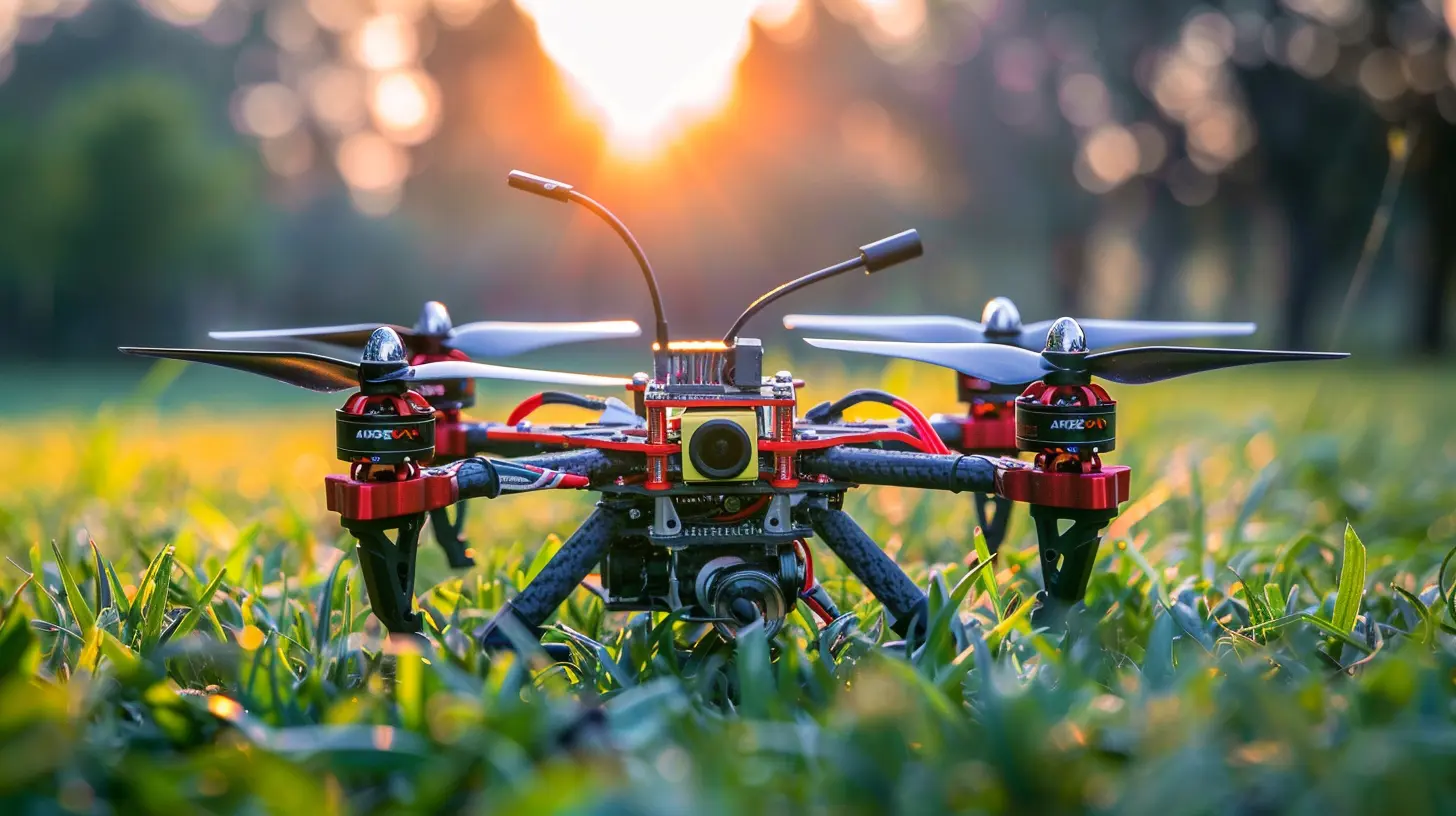
Understanding the Basics of a Drone
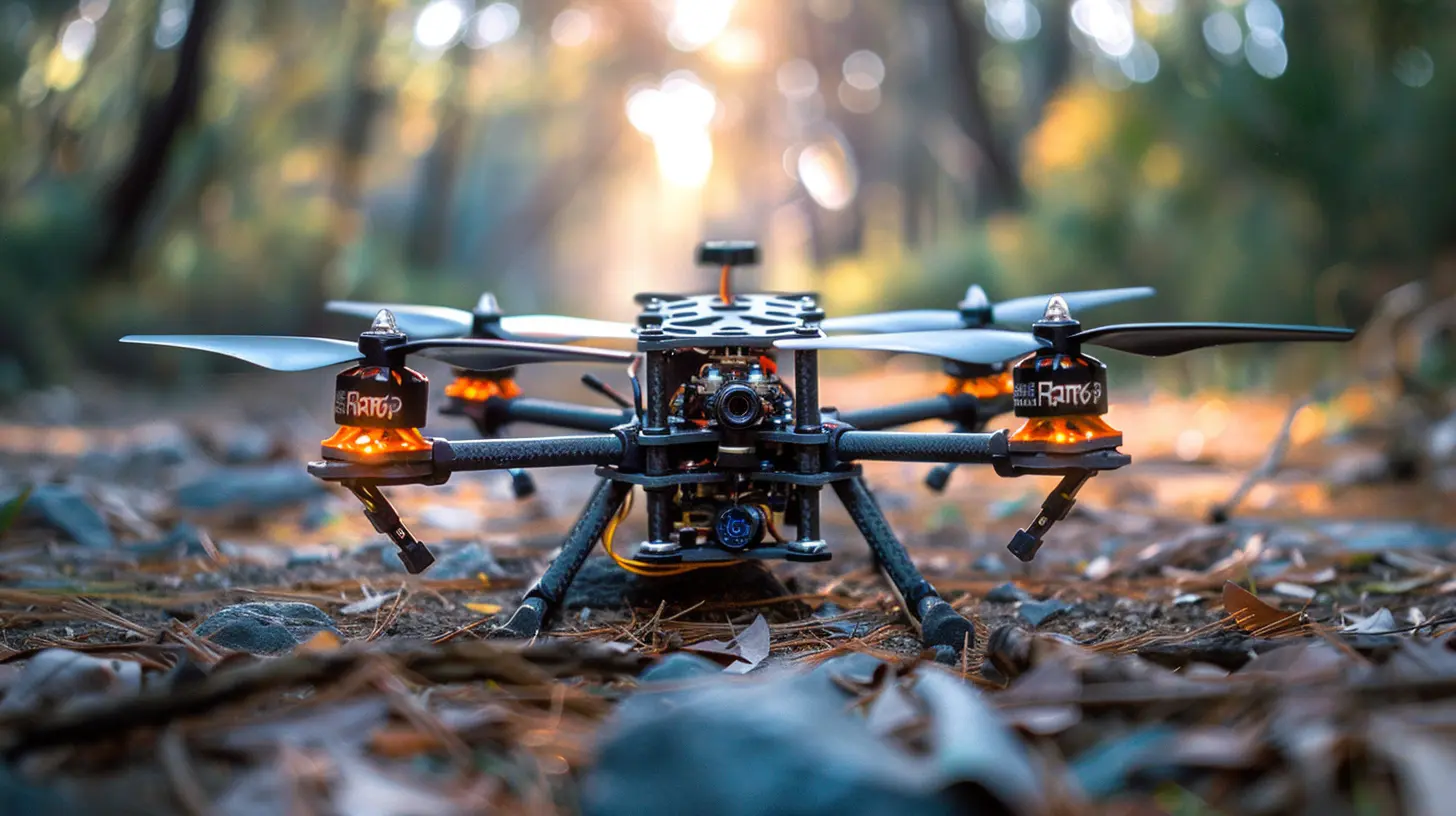
Before we get into the nitty-gritty of assembling your drone, it’s essential to understand the basic components that make up a drone.1. Frame
The frame is the skeleton of your drone. It’s what holds everything together. Frames come in various sizes depending on the type of drone you want to build—whether it’s a small racing drone or a large photography drone. Most drone frames are made of lightweight materials like carbon fiber or plastic.2. Motors
Motors are what make your drone fly. Most drones use four motors—one for each propeller. When building your drone, you'll need to ensure the motors are powerful enough to lift the weight of the entire drone, including the frame, battery, and any additional equipment (like a camera).3. Propellers
Propellers work hand-in-hand with the motors to generate lift. There are different types of propellers depending on the size and purpose of your drone. For example, larger propellers are better for heavy-lift drones, while smaller ones are ideal for speed and agility.4. Electronic Speed Controllers (ESC)
The ESCs are the middlemen between your motor and your battery. They control the amount of power sent to each motor, allowing your drone to balance and fly smoothly.5. Flight Controller
The brain of the drone. The flight controller processes data from the gyroscope and accelerometer to stabilize the drone. It’s also responsible for interpreting the signals from your remote control.6. Battery
Drones run on batteries, typically lithium-polymer (LiPo) batteries because they are lightweight and provide the high power output needed for flight. The battery you choose will depend on how long you want your drone to stay in the air.7. Transmitter and Receiver
The transmitter is the remote control you use to fly the drone, while the receiver is the part of the drone that receives the signals from the transmitter. These two components allow you to control the drone's movements, like turning, accelerating, and climbing.8. Camera (Optional)
If you want to capture aerial footage, you’ll need to attach a camera. Many drone enthusiasts use GoPros or smaller cameras specifically designed for drones.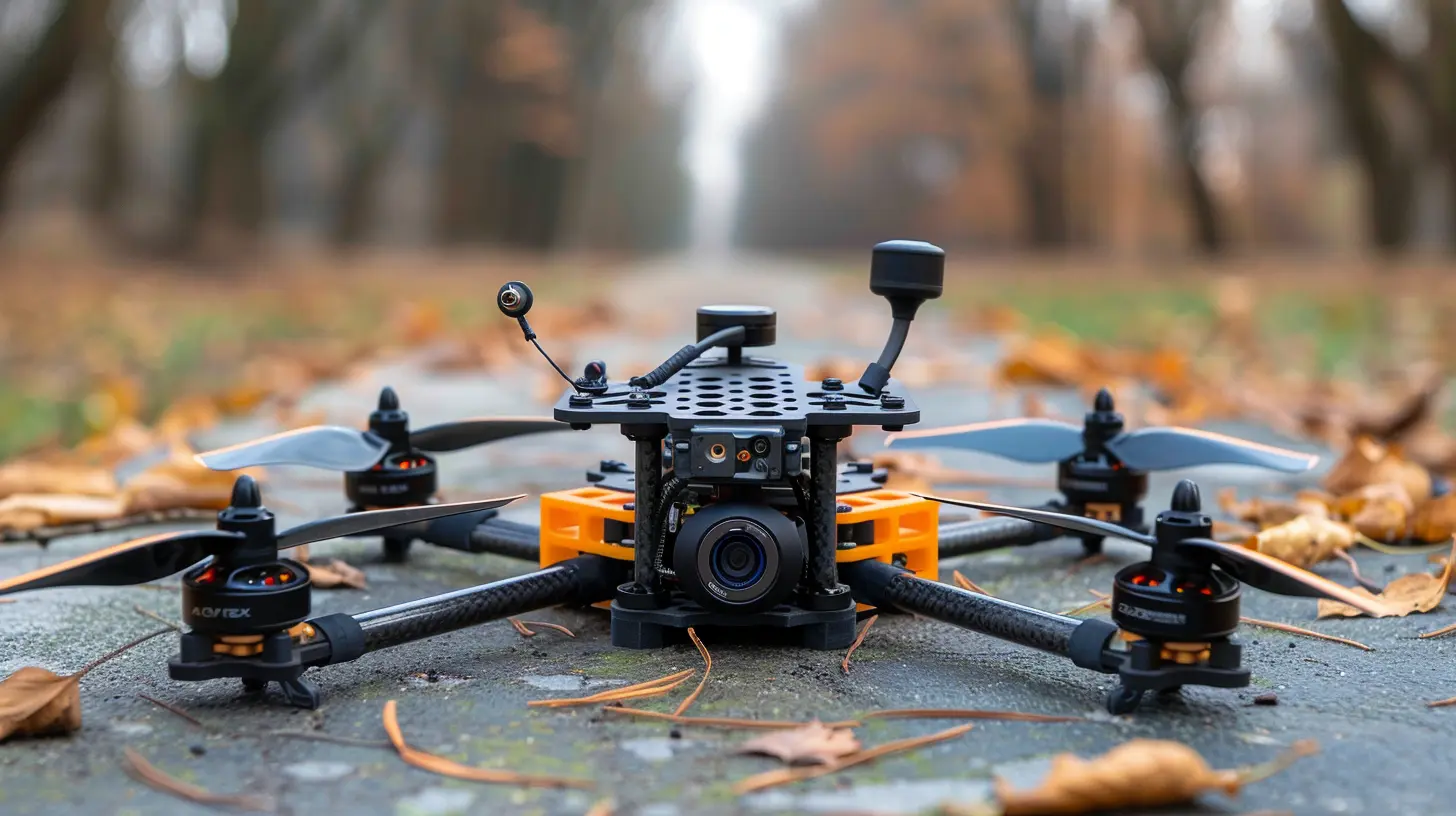
Step-by-Step Guide to Building Your Own Drone
Now that we’ve covered the basics, let’s get into the exciting part—building your drone!Step 1: Choose Your Frame
The first step in building a drone is selecting a frame. This is where you need to decide what type of drone you want to build. If you're going for a racing drone, you'll want a smaller, more aerodynamic frame. On the other hand, if you're building a drone for aerial photography, you'll need a larger frame that can carry a camera and other equipment.Once you’ve chosen your frame, assemble it according to the manufacturer’s instructions. The frame will usually come with screws and small parts, so make sure everything is securely fastened.
Step 2: Install the Motors
After assembling the frame, it’s time to attach the motors. Most drones use four motors—one for each propeller. The motors need to be mounted on the arms of the drone. Be sure to secure them tightly as they will be spinning at high speeds.Step 3: Attach the ESCs
Once the motors are in place, you’ll need to attach the Electronic Speed Controllers (ESCs). Each motor will need its own ESC. The ESCs connect the battery to the motors, controlling the speed of each motor.Step 4: Install the Flight Controller
The flight controller is the brain of your drone, and you’ll want to place it in the center of the frame to keep the drone balanced. The flight controller will need to be connected to the ESCs and motors. Most flight controllers come with detailed instructions, so follow them carefully. In addition, make sure the flight controller is mounted securely to avoid any vibrations during flight.Step 5: Connect the Battery
Next, you’ll need to connect the battery. The battery will provide power to the entire system, so you want to choose one that’s powerful enough to keep your drone airborne but not so heavy that it weighs the drone down. Most drone builders use LiPo (Lithium Polymer) batteries because they offer a good balance of weight and power.Step 6: Connect the Transmitter and Receiver
Now it’s time to make sure you can control your drone. The transmitter is what you’ll use to control the drone, and the receiver sits on the drone itself. The receiver will need to be connected to the flight controller so it can interpret the signals and control the drone’s movements.Step 7: Attach the Propellers
The propellers are what will actually generate lift and allow your drone to take flight. Make sure you attach them correctly—each motor spins in a specific direction, and the propellers need to be installed accordingly. Once the propellers are attached, give them a spin to ensure they move freely and aren’t obstructed by any part of the frame.Step 8: Set Up the Software
Most flight controllers come with software that allows you to configure and calibrate your drone. You’ll need to connect the flight controller to your computer and follow the software’s instructions to get everything calibrated. This process includes setting up the gyroscope, accelerometer, and any other sensors on your drone.Step 9: Test Your Drone
Alright, you’ve done the hard work, but don’t rush to fly it just yet! Before taking off, do a test run. Place your drone on the ground, turn it on, and test all the controls. Make sure the motors are spinning in the correct direction, the propellers are secure, and the flight controller is functioning properly.Step 10: Time to Fly!
Now comes the moment you’ve been waiting for—flying your drone! Start with small, controlled movements. If this is your first time flying a drone, take it slow. Get comfortable with the controls before attempting any advanced maneuvers.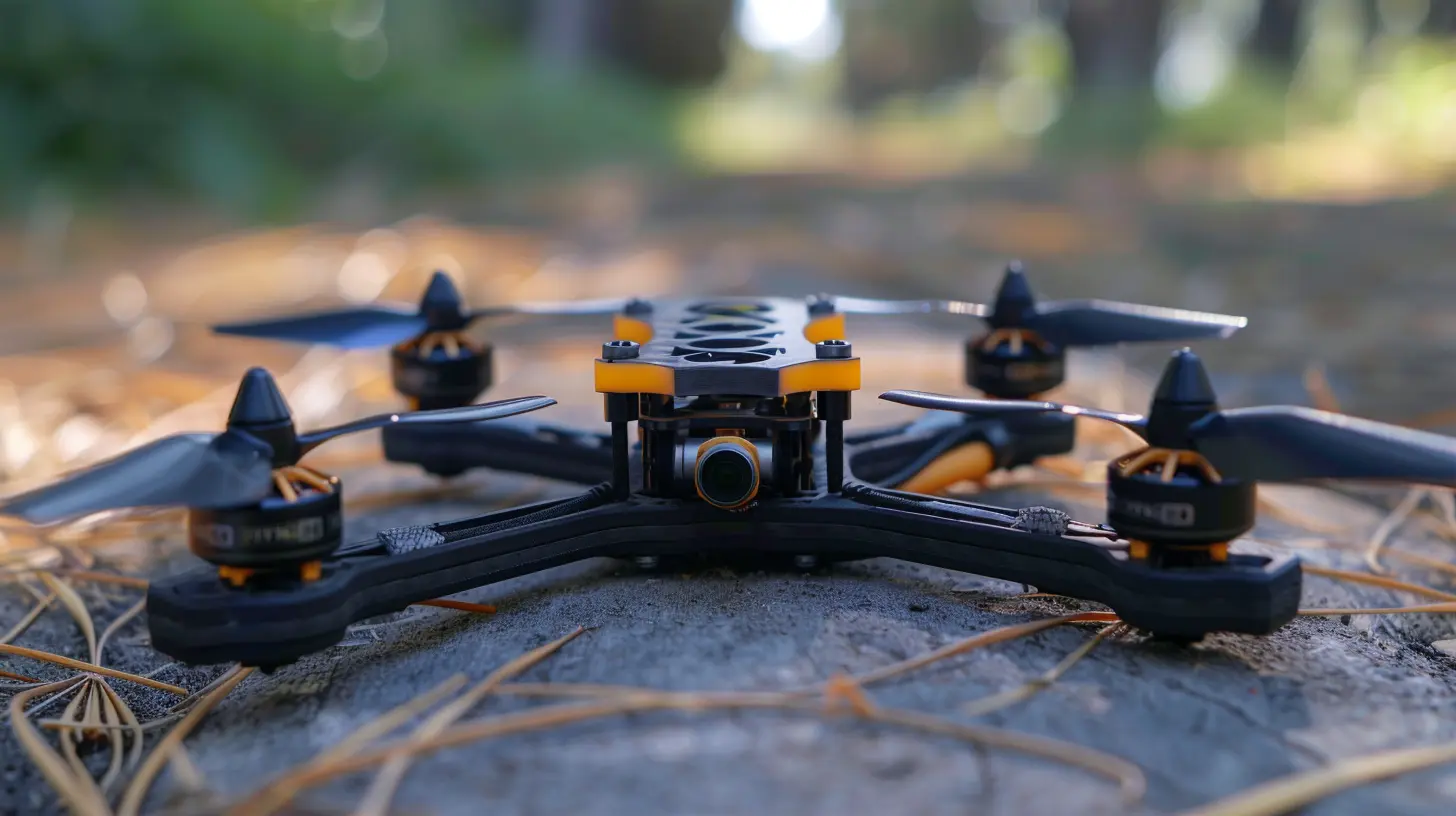
Tips for Improving Your Drone
Now that you’ve built your own drone, you might be wondering how to make it better. Here are a few tips to take your DIY drone to the next level:- Upgrade the Camera: If your drone is for aerial photography, invest in a high-quality camera for better footage.
- Improve Flight Time: Consider upgrading to a more powerful battery to increase the flight time of your drone.
- Add GPS: If you want more precise control over your drone, adding a GPS module can help with navigation and stability.
- Customize with LED Lights: Add some personality to your drone by attaching LED lights. This is especially useful if you plan on flying it at night.
Troubleshooting Common Issues
Let’s face it—things don’t always go as planned. Here are some common issues you might encounter and how to fix them:- Drone Won’t Lift Off: This could be due to improperly installed propellers or a battery that’s too weak. Double-check that your propellers are spinning in the correct direction and that your battery is fully charged.
- Drone Flips Over: If your drone flips over when you try to take off, it’s likely because one or more motors are spinning in the wrong direction. Make sure the motors and propellers are installed correctly.
- Short Flight Time: If your drone’s flight time is shorter than expected, you may need a more powerful battery or lighter components.
Final Thoughts
Building your own drone can be a rewarding and educational experience. Not only do you get to tailor the drone to your specific needs, but you also gain a deeper understanding of how drones work. Plus, there’s a certain thrill in watching something you built with your own hands take flight. While the process may seem daunting at first, with the right components and a little patience, anyone can build their own drone.Remember, the sky’s the limit—literally!


Victoria McNulty
Great guide for aspiring builders!
April 22, 2025 at 10:54 AM